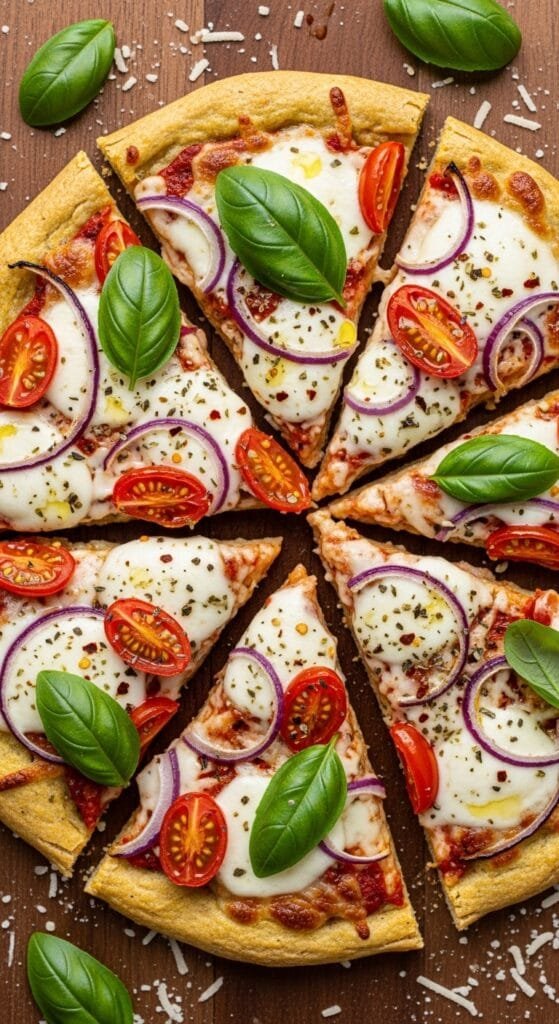
Zucchini crust pizza is a lighter, gluten-free alternative to traditional pizza dough, yet it still delivers the flavor and satisfaction of classic pizza night. By combining grated zucchini with egg and cheese, you create a sturdy, flavorful crust that bakes into a crisp base ready for your favorite toppings. This version focuses on getting the moisture out, shaping the crust correctly, and baking it long enough to achieve the right texture—firm, golden, and sliceable.

Whether you’re following a low-carb lifestyle, looking for a veggie-forward dinner, or simply want a healthier homemade pizza, this recipe offers dependable results with minimal ingredients.
Why You’ll Love This Recipe
- A low-carb, gluten-free alternative to traditional pizza dough
- Crisp edges and sturdy texture when prepared correctly
- Easily customizable with any toppings
- Packed with vegetables and nutrients
- Quick enough for weeknight meals
Ingredients You’ll Need
For the Zucchini Crust
- 2 cups grated zucchini (about 2 medium zucchini)
- 1 large egg, lightly beaten
- ½ cup shredded mozzarella or Parmesan
- ¼ teaspoon salt
- ⅛ teaspoon black pepper
For the Toppings
- ½ cup tomato sauce
- 1 cup shredded mozzarella
- Pepperoni, mushrooms, onions, bell peppers, or toppings of choice
- Fresh basil
- Dried oregano or Italian seasoning
What You’ll Need
Box grater or food processor, towel or cheesecloth, mixing bowl, baking sheet, parchment paper.
How to Make Zucchini Crust Pizza (Step-by-Step)
Before You Begin
Preheat and prepare your cookware as needed. Cooking times may vary depending on your equipment and ingredients.
1. Prepare the Zucchini
Grate zucchini and place it in a clean towel. Squeeze thoroughly until almost dry—this step determines how crispy the crust becomes.
2. Mix the Crust
Combine the squeezed zucchini with the egg, cheese, salt, and pepper. Stir until evenly mixed.
3. Shape the Crust
Preheat your oven to 400°F (200°C). Line a baking sheet with parchment. Spread the mixture into a thin circle or rectangle, about ¼–½ inch thick.
4. Pre-Bake
Bake 10–15 minutes or until the crust is firm and lightly golden. Cooking times may vary depending on thickness and oven performance.
5. Add Toppings
Spread tomato sauce over the crust, then add cheese and your preferred toppings.
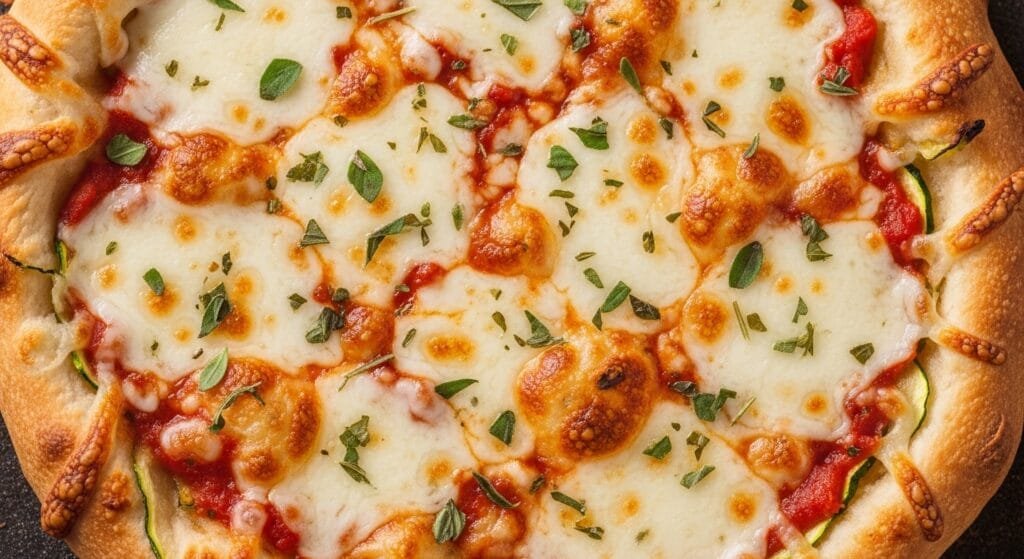
6. Final Bake
Bake for 20–25 minutes, or until the pizza is golden and the cheese is bubbly.
7. Serve
Cool slightly before slicing to help the crust hold together.
- Food Safety
- Do not consume undercooked egg.
- Bake until crust is fully set.
- Refrigerate leftovers within 2 hours.
- Store at or below 40°F (4°C).
- Reheat until hot throughout before serving.
- Make Ahead
- Crust can be pre-baked up to 24 hours ahead and refrigerated. Add toppings before final bake.
- Storage
- Refrigerator: up to 3 days.
- Reheating
- Reheat at 350°F (175°C) in the oven or microwave slices in short intervals until heated through.
Tips for Best Results
- Remove as much moisture as possible from the zucchini.
- Keep the crust thin for maximum crispiness.
- Pre-bake before adding toppings—this step is essential.
- Avoid watery toppings; pre-cook vegetables if needed.
- Line the pan with parchment to prevent sticking.
Common Mistakes to Avoid
- Not squeezing moisture out fully, causing a mushy crust
- Skipping the pre-bake
- Making the crust too thick
- Adding toppings that release excess moisture
- Underseasoning (zucchini is mild and needs seasoning to shine)
Variations
- Mediterranean: feta, olives, pesto, sun-dried tomatoes
- BBQ Chicken: chicken, BBQ sauce, onions, cilantro
- Veggie Supreme: roasted peppers, spinach, mushrooms, goat cheese
- Three-Cheese: mozzarella, Parmesan, provolone
FAQ
How do I keep zucchini crust from getting soggy?
The key is reducing moisture. Zucchini contains a large amount of water, and if it’s not removed thoroughly, the crust will soften during baking. Use a towel or cheesecloth and squeeze firmly until almost no liquid comes out. Pre-baking the crust also helps evaporate remaining moisture, producing a firm and sliceable texture.
Can I make this dairy-free?
Yes. Use dairy-free shredded cheese for both the crust and the toppings. Because the cheese acts as a binder, choose a brand that melts well. If the crust feels too soft, mix in a tablespoon of almond flour to help it firm up.
Can I freeze zucchini pizza crust?
Yes. Bake the crust fully, let it cool, then freeze it without toppings. When ready to use, add sauce and toppings and bake until hot. Freezing raw zucchini mixture is not recommended because it releases water when thawed.
What toppings work best?
Most traditional toppings work well, but choose varieties that don’t release excess moisture. Pepperoni, cooked sausage, mushrooms (pre-sautéed), onions, olives, and roasted vegetables all work. Avoid using raw watery vegetables or fresh mozzarella unless dried thoroughly.
Why isn’t my crust crispy?
This usually happens when moisture wasn’t fully removed. Thicker crusts can also bake up soft inside. Spread the mixture thinner, squeeze out more liquid, and extend pre-baking time slightly until the crust becomes firm.
Can I use another vegetable instead of zucchini?
Yes—cauliflower works well but also requires extensive moisture removal. Sweet potatoes or carrots can be substituted, but the crust will be softer and sweeter.
Is zucchini crust pizza healthier?
Compared to traditional dough, zucchini crust offers fewer carbs, fewer calories, and more vitamins and fiber. It’s a strong option for low-carb, gluten-free, or vegetable-forward diets.
Conclusion
This zucchini crust pizza is a flavorful, healthier alternative to classic pizza and works beautifully for anyone wanting a lighter meal without sacrificing satisfaction. With the right moisture removal and baking techniques, the crust becomes firm, crisp, and able to hold any toppings you love. It’s customizable, nutrient-dense, and simple enough for busy weeknights. Once you master the technique, this recipe becomes a dependable go-to for low-carb pizza nights and fresh, veggie-focused meals.
Zucchini Crust Pizza – Crispy Gluten-Free Pizza Base
Ingredients
Method
- Before You Begin
- Preheat and prepare your cookware as needed. Cooking times and results may vary depending on your equipment and ingredients.
- Prepare Zucchini
- Grate zucchini and squeeze firmly in a clean towel until most moisture is removed.
- Mix Crust
- Combine zucchini, egg, cheese, salt, and pepper until evenly blended.
- Shape Crust
- Preheat oven to 400°F (200°C). Line a baking sheet with parchment and spread mixture into a thin ¼–½ inch crust.
- Pre-Bake
- Bake about 10–15 minutes, or until the crust appears firm and lightly golden. Cooking time may vary depending on thickness and oven performance.
- Add Toppings
- Spread sauce evenly and add cheese and toppings.
- Final Bake
- Bake about 20–25 minutes, or until the crust edges are golden, the cheese is bubbly, and the center is heated through. Cooking time may vary depending on oven performance.
- Serve
- Cool slightly before slicing so crust holds together.
Notes
- Squeeze zucchini thoroughly to remove excess moisture for a crisp crust.
- Pre-baking ensures the base cooks through before toppings are added.
- Store leftovers in an airtight container in the refrigerator for up to 3 days.
- Reheat in a 350°F (175°C) oven or microwave until heated through.
About the Author
Isaac shares easy, family-friendly recipes made with simple ingredients, focusing on clear instructions and reliable results for everyday home cooking.


")
")