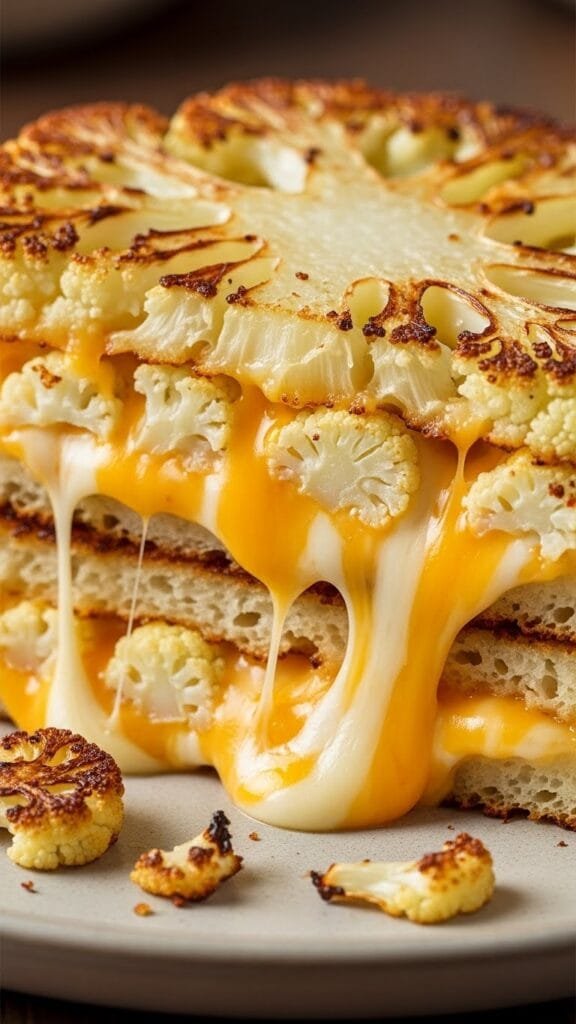
If you’re craving a warm, melty grilled cheese but trying to cut back on carbs, this Cheesy Low-Carb Cauliflower Grilled Cheese is about to become your new go-to. It delivers everything you love about classic grilled cheese—crispy edges, golden “bread,” and that irresistible cheese pull—but without the bread, grease, or heaviness. The secret is in the cauliflower “slices.” They bake up firm, flavorful, and surprisingly sturdy, giving you a deliciously low-carb base that holds together like real toast.
Even better? This recipe uses simple ingredients, takes minimal prep time, and works for lunch, dinner, or a quick snack. You can customize it with your favorite cheeses, add herbs, boost the protein, or pair it with soup for a comforting meal. It’s gluten-free, keto-friendly, kid-approved, and shockingly satisfying—perfect for busy days when you want something cozy, hot, and cheesy without the guilt.
Why You’ll Love This Cheesy Low-Carb Cauliflower Grilled Cheese Recipe
- Low-carb, keto-friendly, and naturally gluten-free
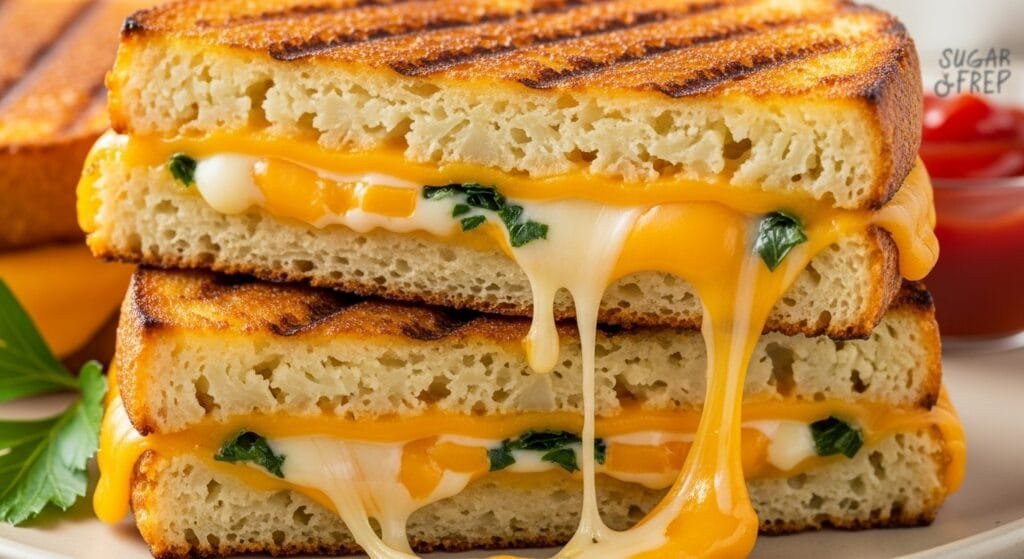
- Crispy outside, melty inside—just like traditional grilled cheese
- A great way to eat more vegetables without noticing
- Customizable with different cheeses and herbs
- Quick enough for busy weeknights
- Most kids enjoy the cheesy flavor, and the cauliflower base blends in surprisingly well.
Ingredients You’ll Need
Main Ingredients
- Cauliflower – 2–3 cups riced (from 1 medium head)
- Eggs – 2 large, for binding
- Parmesan cheese or almond flour – ¼ cup for structure
- Shredded cheese – 1 cup (Cheddar, Mozzarella, Provolone, or your favorite)
- Seasonings –
- ½ tsp garlic powder
- ½ tsp salt
- ¼ tsp black pepper
- 1 tsp oregano (optional)
For Cooking
- 1 tbsp olive oil or butter
- Parchment paper (very important to prevent sticking)
Tools
Food processor or grater, dish towel/cheesecloth, mixing bowl, baking sheet, skillet.
How to Make Cauliflower Grilled Cheese
Before You Begin
Preheat and prepare your cookware as needed. Cooking times and results may vary depending on your equipment and ingredients.
Step 1: Rice the Cauliflower
Break the cauliflower into florets and pulse in a food processor until it resembles rice. If using a grater, grate until fine.
Step 2: Remove All Moisture
Place the riced cauliflower in a clean dish towel. Wrap tightly and squeeze until very dry, taking care not to overfill or twist too tightly to avoid tearing the towel.
This step is the key to slices that hold together. Removing moisture is the most important step in this recipe. Properly dried cauliflower ensures your slices hold together, crisp nicely, and don’t become soggy while cooking.
Step 3: Make the Cauliflower Dough
In a bowl, combine the dried cauliflower, eggs, Parmesan/almond flour, and seasonings. Mix until a thick dough forms.
Step 4: Shape and Bake the “Bread”
- Preheat oven to 400°F (200°C)
- Line a baking sheet with parchment paper
- Divide the dough into 4 portions
- Shape into thin squares or rectangles (¼–½ inch thick)
- Bake for 15–20 minutes until golden and firm
Let the slices cool slightly before assembling.
Step 5: Assemble and Grill
Place cheese between two cauliflower slices.
Heat oil or butter in a skillet and grill the sandwich for 2–3 minutes per side until crispy and melted.
Serving Suggestions
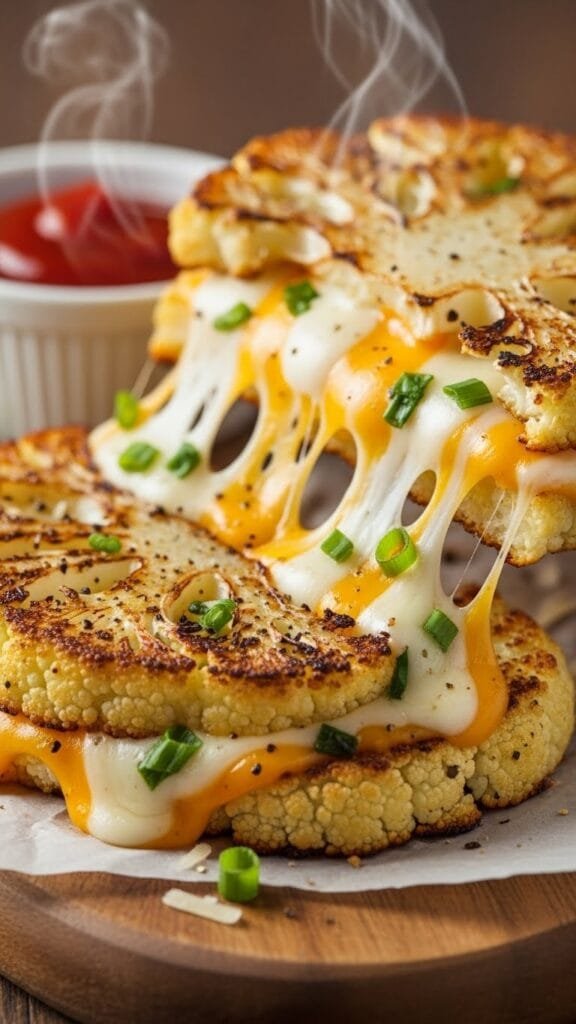
Serve hot with:
- Tomato soup
- Mixed greens salad
- Veggie sticks
- Low-carb marinara for dipping
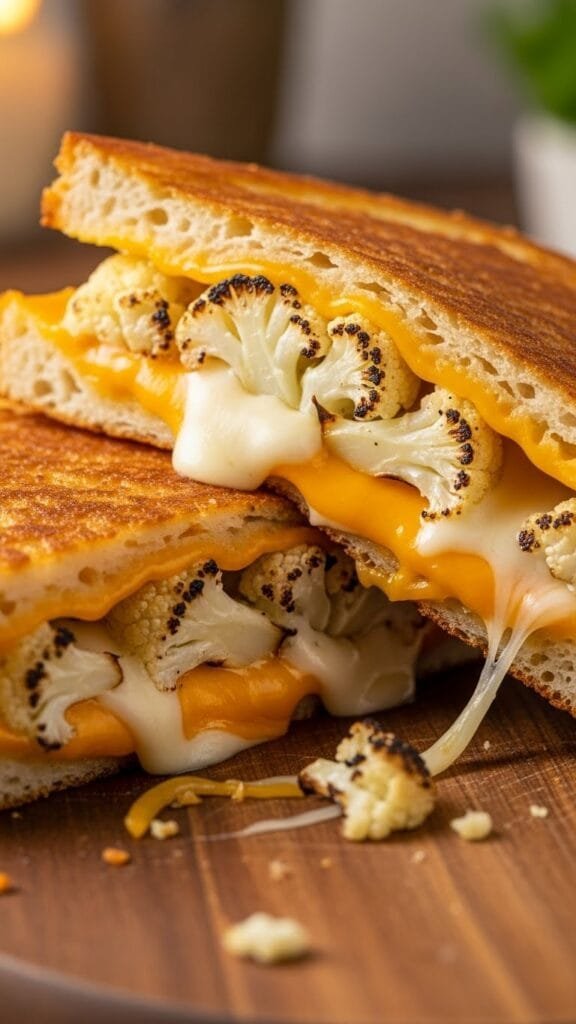
Cut diagonally for the classic grilled-cheese look.
Food Safety
- Squeeze cauliflower very dry to ensure proper cooking and structure.
- Bake until slices are firm and lightly golden before assembling.
- Do not leave at room temperature longer than 2 hours.
- Refrigerate leftovers promptly.
Storage
- Store cooled slices or sandwiches in an airtight container in the refrigerator for up to 3–4 days.
Reheating
- Reheat in a skillet, air fryer, or toaster oven until heated through and crisp.
- Avoid microwaving, as it softens the texture.
Make-Ahead
- Bake cauliflower slices up to 2 days in advance and refrigerate.
- Assemble and grill fresh for best texture.
Easy Recipe Variations
- Italian Style: Add marinara + mozzarella
- Herb Upgrade: Mix chives, dill, or parsley into the dough
- Pesto Version: Spread a thin layer of pesto before adding cheese
- Spicy Kick: Add red pepper flakes or jalapeños
Common Mistakes to Avoid
- Not squeezing out moisture → slices will fall apart
- Skipping parchment paper → slices will stick
- Adding too much cheese → sandwich becomes difficult to flip
- Using high heat → burns outside before cheese melts
Short History of Grilled Cheese
Grilled cheese became popular in the 1920s when sliced bread and cheese became affordable. Today, it’s a beloved American classic. This cauliflower version keeps the comfort while making it low-carb and veggie-packed.
Frequently Asked Questions
Can I make cauliflower grilled cheese ahead of time?
Yes. You can prepare and bake the cauliflower “bread” slices up to two days in advance. Store them in an airtight container in the refrigerator. When you’re ready to eat, simply assemble with cheese and grill fresh for the best texture and flavor.
Why do my cauliflower slices fall apart?
This usually happens when too much moisture remains in the cauliflower. After ricing, it’s essential to squeeze out as much liquid as possible using a clean towel or cheesecloth. Dry cauliflower helps the slices hold together and crisp properly.
Can I use frozen cauliflower rice?
You can, but it requires extra care. Thaw it completely and squeeze out significantly more moisture than you would with fresh cauliflower. Frozen cauliflower contains more water, which can affect texture if not removed.
What cheese works best for this recipe?
Cheddar, mozzarella, provolone, and Monterey Jack all melt well and pair nicely with the cauliflower base. You can also mix cheeses for more flavor. Avoid very soft cheeses on their own, as they may leak during grilling.
Can I bake instead of pan-grilling the sandwich?
Yes. After assembling the sandwich, you can bake it at 375°F (190°C) for about 8–10 minutes, flipping once, until the cheese melts and the outside is lightly crisp. Pan-grilling gives the best golden finish, but baking works well too.
How should I store leftovers?
Leftovers can be stored in the refrigerator for up to three days. Reheat in a skillet, air fryer, or toaster oven to restore crispness. Microwaving is not recommended, as it softens the texture.
Conclusion
This Cheesy Low-Carb Cauliflower Grilled Cheese proves that comfort food can still feel satisfying without relying on traditional bread. With its crisp exterior, melty cheese center, and surprisingly sturdy cauliflower base, it delivers the familiar grilled-cheese experience in a lighter, veggie-forward way. The recipe is simple, flexible, and easy to customize with different cheeses or seasonings, making it suitable for quick lunches, light dinners, or cozy snacks. Once you master removing moisture from the cauliflower, the process becomes straightforward and reliable every time. Whether you’re looking to add more vegetables to your meals or just try something new, this cauliflower grilled cheese is a recipe you’ll want to keep on hand and make again.
Cheesy Cauliflower Grilled Cheese (Low-Carb)
Ingredients
Method
- Before You Begin
- Prepare your cookware as needed. Cooking times and results may vary depending on your equipment and ingredients.
- Preheat oven to 400°F (200°C) and line a baking sheet with parchment paper.
- Rice cauliflower using a food processor or grater until it resembles small grains.
- Place riced cauliflower in a clean towel or cheesecloth and squeeze thoroughly until very dry.
- In a bowl, combine cauliflower, eggs, Parmesan or almond flour, garlic powder, salt, and pepper until a thick dough forms.
- Divide dough into 4 portions and shape into thin squares or rectangles about ¼–½ inch thick.
- Bake 15–20 minutes, or until the slices are golden, firm, and hold their shape when gently lifted.
- Place shredded cheese between two cauliflower slices to form sandwiches.
- Heat oil or butter in a skillet over medium heat and grill sandwiches 2–3 minutes per side until the cheese is melted and the exterior is lightly crisp.
Notes
About the Author
Isaac shares easy, family-friendly recipes made with simple ingredients, focusing on clear instructions and reliable results for everyday home cooking.

")

")