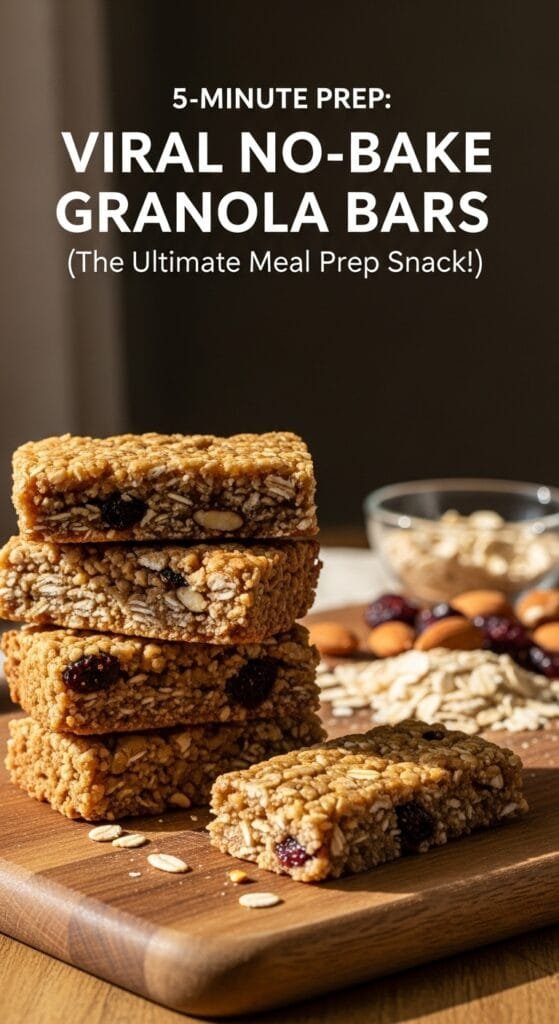
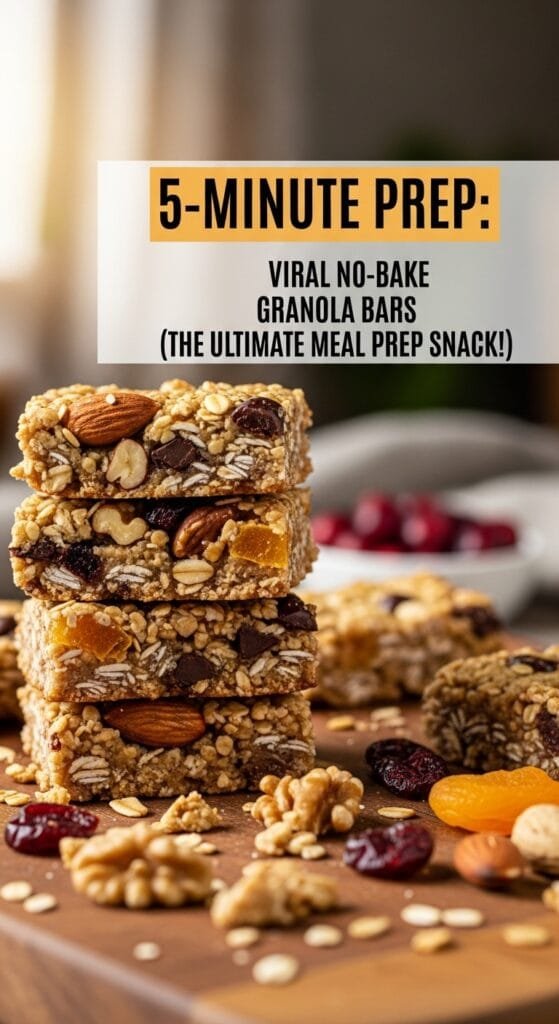
Easy No-Bake Granola Bars are a practical, homemade snack designed for busy days and simple routines. Made with rolled oats, nut butter, and a natural sweetener, these bars come together quickly without turning on the oven or using complicated equipment. The texture is soft and chewy, with enough structure to hold together well for packing, storing, and serving throughout the week.
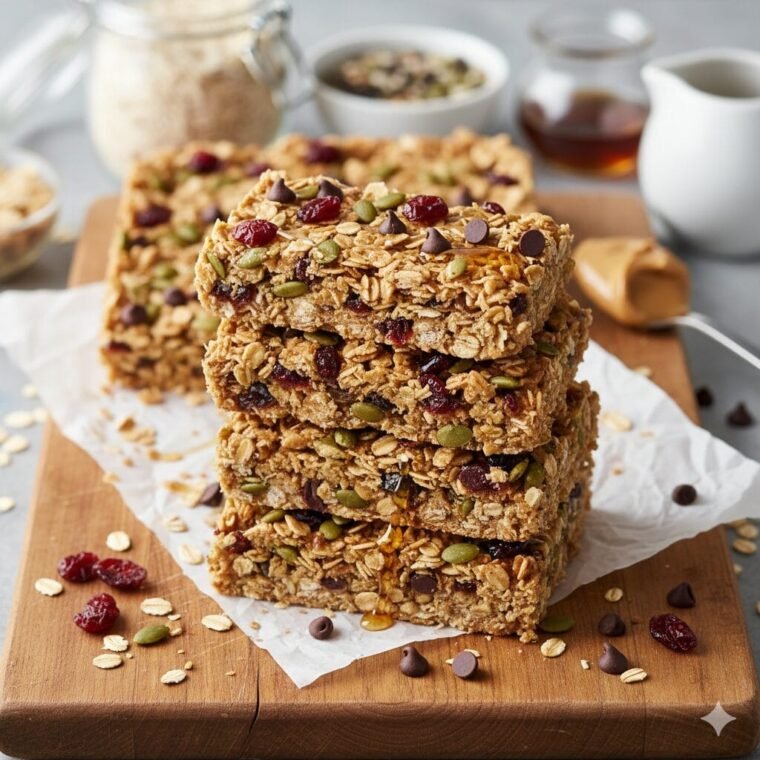
What makes this recipe especially useful is control. You choose the ingredients, adjust the sweetness, and customize the mix-ins based on taste, dietary needs, or what you already have on hand. That makes these granola bars well suited for breakfast on the go, lunch boxes, afternoon snacks, or light energy bites between meals.
Because they rely on chilling rather than baking, the process is forgiving and beginner-friendly. With minimal prep time and consistent results, these no-bake granola bars are a reliable option for everyday homemade snacking.
Why This No-Bake Granola Bar Recipe Works
This recipe is designed to give you:
- Healthier ingredients than store-bought bars
- Better flavor control—less sugar, no preservatives
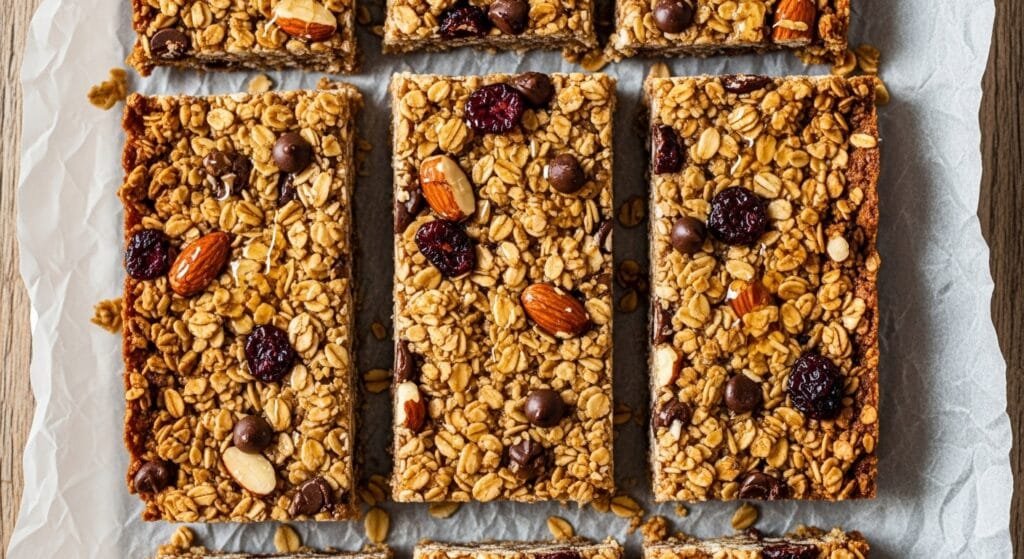
- Customizable mix-ins (seeds, nuts, dried fruits, chocolate)
- Fast prep time—no baking required
- Perfect texture that holds together without crumbling
These homemade granola bars are great for meal prep, weight-management snacks, and kid-friendly lunch ideas.
Ingredients (Simple & Healthy)
Main Ingredients
- 2 cups rolled oats (old-fashioned oats work best)
- ½ cup nut butter (peanut, almond, or cashew)
- ⅓ cup natural sweetener (honey, maple syrup, or agave)
- ½ cup mix-ins of your choice:
- Seeds
- Dried fruit
- Shredded coconut
- Mini chocolate chips
Optional Flavor Boosters
- 1 teaspoon vanilla extract
- Pinch of salt
Equipment Needed
- 8×8-inch baking dish
- Parchment paper
- Large bowl
- Small saucepan
- Sturdy spatula
How to Make No-Bake Granola Bars (Step-by-Step)
Before You Begin:
Prepare your ingredients and tools as needed. Results may vary depending on your ingredients. Wash and dry all produce thoroughly. Do not leave prepared food at room temperature for more than 2 hours.
These bars come together in just a few easy steps.
Step 1 — Prepare the Pan
Line the 8×8 pan with parchment and leave extra hanging over the edges.
Step 2 — Mix Dry Ingredients
Add oats and mix-ins to a large bowl and stir well.
Step 3 — Melt the Wet Ingredients
In a small saucepan over low heat, combine nut butter and sweetener.
Stir until smooth over low heat. Avoid boiling, which can cause the mixture to thicken too quickly and lead to separation.
Add vanilla and salt.
Step 4 — Combine Wet & Dry
Pour the warm mixture over the oats.
Mix until every oat looks glossy and evenly coated, with no dry spots remaining (this helps the bars stick together).
Step 5 — Press Firmly
Press the mixture very firmly into the pan until the surface looks compact and level. A tightly packed base prevents crumbling after chilling.
A firm press = bars that don’t crumble.
Step 6 — Chill
Refrigerate for 2 hours until fully set.
Step 7 — Cut Into Bars
Lift using parchment and slice into bars or squares.
Serving Ideas
These homemade granola bars are perfect for:
- Healthy breakfast on the go
- Kid-friendly lunch boxes
- After-workout energy
- Coffee or tea snacks
- Road trips and travel snacks
Food Safety
Store bars covered and chilled in warm environments.
Refrigerate leftovers if room temperature exceeds 75°F (24°C).
Discard if odor, color, or texture changes.
Storage
Store in airtight container at room temperature up to 7 days or refrigerate up to 2 weeks.
Freezing
Freeze up to 3 months. Thaw overnight in refrigerator.
Reheating
Not required.
Make-Ahead
Prepare bars up to 5 days ahead and store refrigerated for best texture.
Expert Tips for Perfect Bars
- Press as firmly as possible for non-crumbly bars.
- Let the wet mixture cool slightly before mixing in chocolate.
- Do not skip the chilling step—minimum 2 hours.
- Use old-fashioned oats for best texture.
Variations & Flavor Ideas
- Nut-Free Version: Use sunflower seed butter.
- Vegan Version: Use agave or maple syrup.
- High-Fiber Bars: Add chia or flaxseeds.
- Crunchy Bars: Add puffed rice cereal.
- Fruit Bars: Add raisins, cranberries, chopped dates.
Common Mistakes to Avoid
- Not pressing firmly
- Adding too much sweetener
- Cutting before fully chilled
- Using instant oats (too soft)
Short History
Granola has been enjoyed since the late 1800s, but modern chewy granola bars became popular in the mid-1900s. This no-bake version is a quicker, cleaner, healthier take on the classic.
FAQ
1. Can I make these granola bars gluten-free?
Yes—use certified gluten-free oats.
2. How do I stop them from falling apart?
Press firmly + chill fully.
3. Are they good for weight loss?
Yes—use unsweetened nut butter, seeds, and low-sugar mix-ins.
4. Can kids eat them?
Absolutely—just ensure nut allergies are considered.
5. Can I double the batch?
Yes—use a larger pan or divide into 2 pans.
Conclusion
These Easy No-Bake Granola Bars are a simple, dependable snack you can make ahead and enjoy throughout the week. With minimal ingredients and no baking required, they’re well suited for busy mornings, lunch boxes, or quick energy between meals. The soft, chewy texture holds together well, and the recipe is flexible enough to adapt to different tastes and dietary needs. Whether you keep them classic or customize the mix-ins, these homemade granola bars offer a practical alternative to store-bought snacks and are easy to return to whenever you need something quick, wholesome, and reliable.
Easy No-Bake Granola Bars
Ingredients
Method
- Before You Begin
- Prepare your equipment and ingredients as needed. Results may vary depending on your tools and ingredient temperatures.
- Prep Pan
- Line an 8×8 pan with parchment paper, leaving overhang for lifting.
- Combine Dry Ingredients
- Add oats and mix-ins to a bowl and stir until evenly distributed.
- Warm Wet Ingredients
- Heat nut butter and sweetener over low heat until smooth. Do not boil. Stir in vanilla and salt.
- Combine Mixture
- Pour warm mixture over oats and stir until oats look glossy and fully coated with no dry patches.
- Press Firmly
- Press mixture very firmly into pan until surface looks compact and level.
- Chill
- Refrigerate at least 2 hours until fully set.
- Visual cue: bars should feel firm and hold shape when pressed.
- Slice
- Lift out using parchment and cut into bars using a sharp knife.
Notes
About the Author
Isaac shares easy, family-friendly recipes made with simple ingredients, focusing on clear instructions and reliable results for everyday home cooking.


")
")