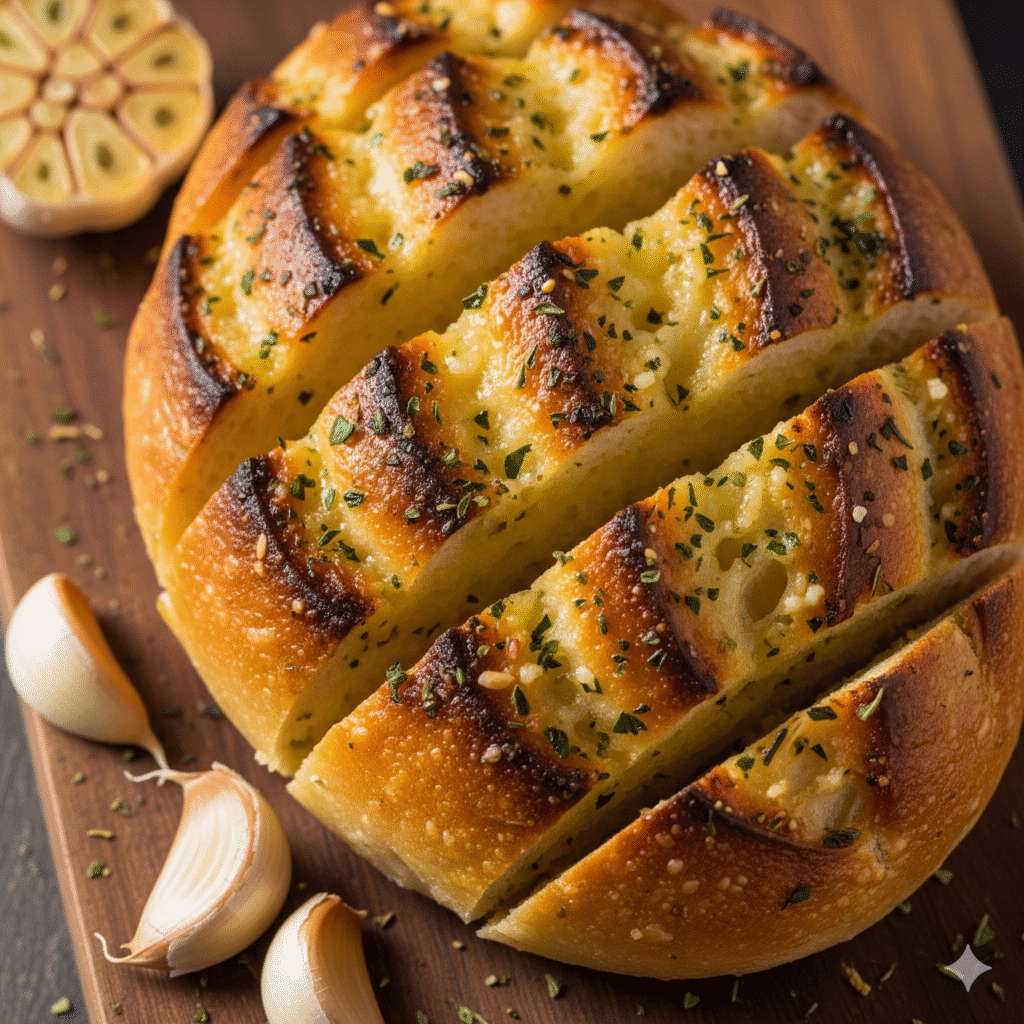
Craving warm, buttery garlic bread that melts in your mouth and fills your kitchen with the BEST aroma? This homemade garlic bread recipe is everything you love about restaurant-style garlic bread — perfectly crispy on the outside, soft and fluffy inside, and loaded with real garlic, fresh herbs, and rich butter.
This easy garlic bread is budget-friendly, beginner-friendly, and takes less than 20 minutes from start to finish. Whether you need a quick side for pasta, a cozy weekend appetizer, or a freezer-friendly make-ahead option, this recipe is one you’ll come back to again and again.
Why This Homemade Garlic Bread Recipe Works
This recipe delivers incredible flavor with minimal effort. Here’s why it’s a keeper:
Crispy edges + soft center
The high-heat bake ensures golden crust while keeping the inside tender.
Ready in 20 minutes
Just mix, spread, bake — perfect for busy nights.
Naturally flavorful
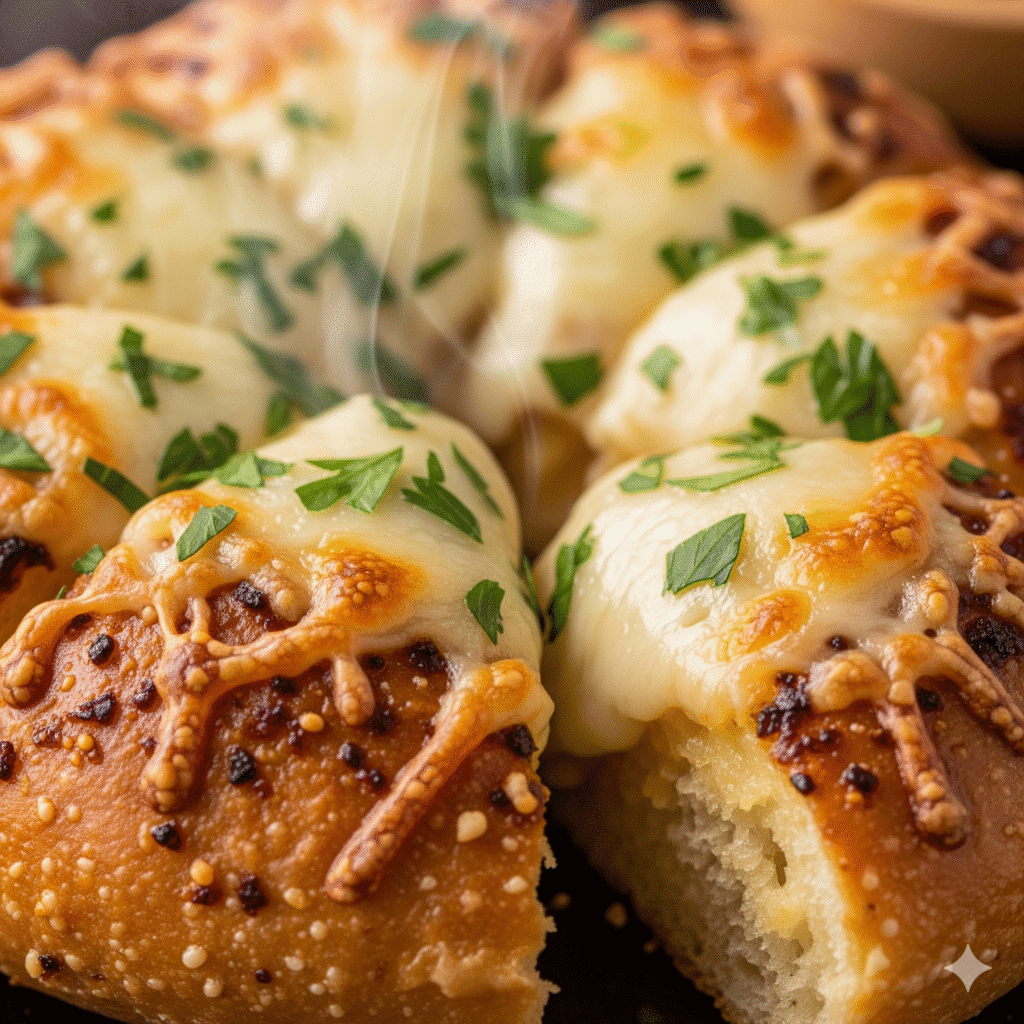
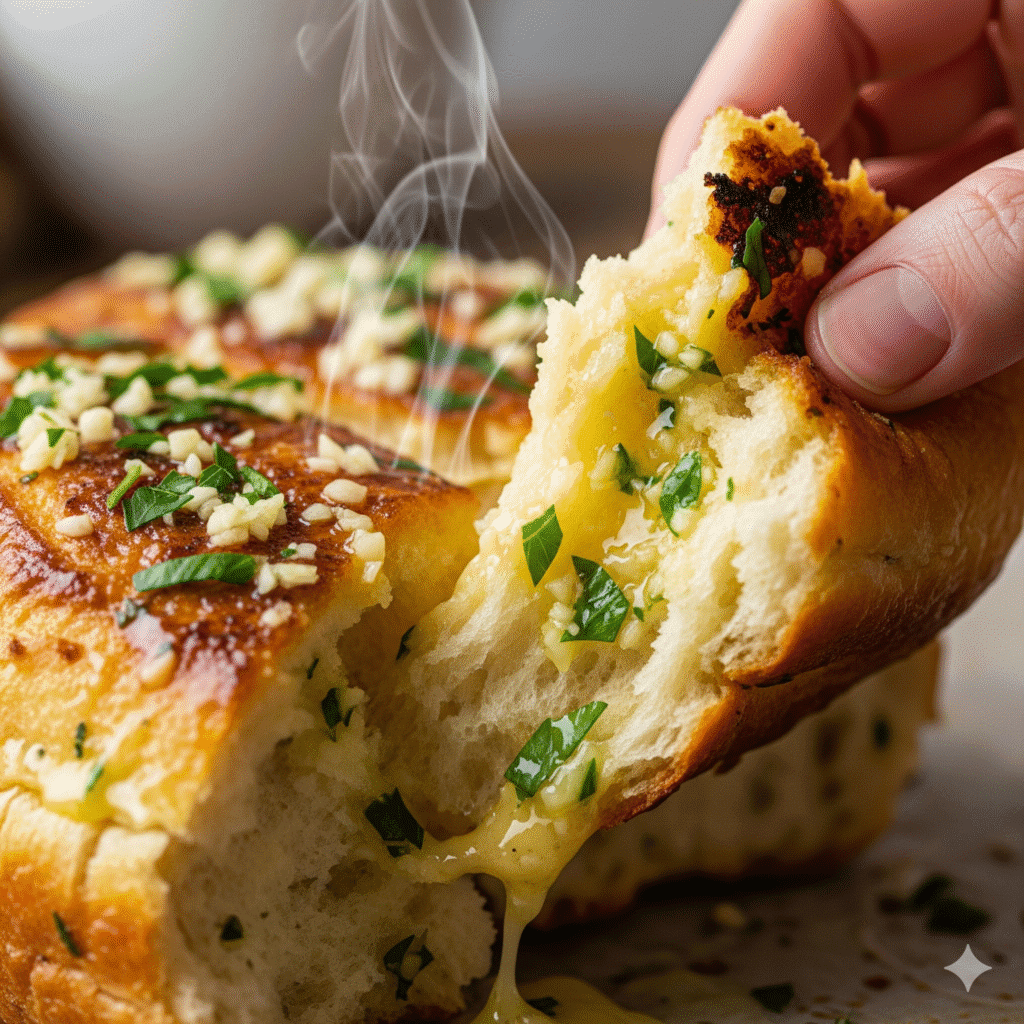
Fresh garlic, parsley, and melted butter give it that real Italian restaurant taste.
Meal-prep & freezer friendly
Make a whole loaf ahead of time and freeze for quick dinners.
Pairs with anything
Great with pasta, soups, casseroles, salads, or as a snack on its own.
Ingredients You’ll Need
For the Garlic Bread:
- 1 loaf crusty bread (French bread, Italian loaf, or a sturdy baguette)
- ½ cup (113g) unsalted butter, softened
- 1 tbsp fresh parsley, finely chopped
- 4 tsp fresh minced garlic (3–4 cloves)
- ¼ tsp flaky sea salt
- ⅓ cup freshly grated Parmesan (optional but delicious)
Tools:
- Serrated knife
- Mixing bowl
- Spatula or butter knife
- Baking sheet + parchment paper
How to Make Homemade Garlic Bread
Before You Begin
Prepare your cookware as needed. Cooking times and results may vary depending on your equipment and ingredients.
Step 1 — Preheat the Oven
Preheat your oven to 400°F (204°C). Line a baking sheet with parchment to help prevent sticking and make cleanup easier.
Step 2 — Prepare the Bread
Slice the loaf horizontally using a serrated knife. Place both halves cut-side up on the prepared baking sheet. Thicker loaves may require slightly longer baking times.
Step 3 — Make the Garlic Butter
In a small bowl, stir together softened butter, minced garlic, parsley, salt, and Parmesan (if using). Mix until spreadable.
Tip: Butter should be soft enough to spread without tearing the bread.
Step 4 — Spread Evenly
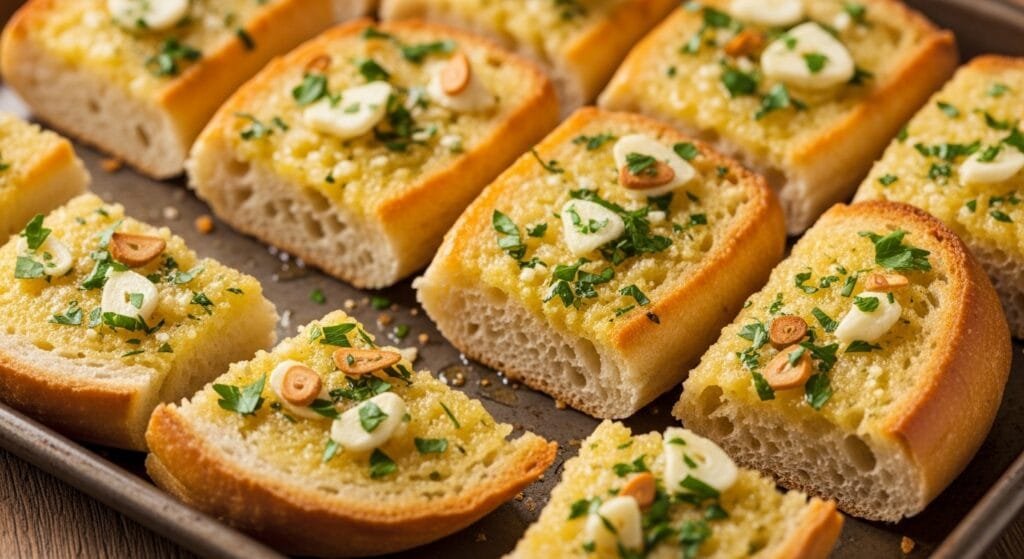
Use a spatula or butter knife to apply a generous, even layer of garlic butter across both halves. Press gently to ensure the mixture adheres without soaking the bread.
Step 5 — Bake the Garlic Bread
Place the baking sheet in the oven. Bake 16–18 minutes, or until the edges turn lightly golden and the center is warmed through. Check earlier if your oven runs hot.
Step 6 — Rest & Slice
Remove from the oven and allow to rest for 2–3 minutes. This helps the butter settle before slicing. Cut into portions and serve warm.
Serving Suggestions
This garlic bread pairs beautifully with:
- Spaghetti or lasagna
- Creamy soups (tomato, potato, broccoli cheddar)
- Chicken casseroles
- Fresh salads
- Slow cooker meals
For parties, slice into small squares and serve as an easy appetizer.
If the garlic aroma doesn’t develop within the first few minutes of baking, the garlic may be past its prime.
Storage, Freezing & Reheating
Food Safety
- Use clean utensils and surfaces when handling ingredients.
- Refrigerate leftovers within 2 hours.
- Discard if smell, texture, or appearance changes.
Storage
- Store cooled garlic bread in an airtight container up to 3 days.
- Freeze prepared (unbaked) bread tightly wrapped up to 3 months.
Reheat
- Reheat in oven or air fryer until heated through and crisp.
- Avoid microwaving to prevent soft texture.
- Do not reheat more than once.
Make Ahead
- Prepare garlic butter and spread on bread up to 24 hours ahead and refrigerate.
- Bake directly from refrigerator or freezer, adding a few extra minutes if needed.
Freeze (Unbaked)
- Spread garlic butter on the bread.
- Place sheets of parchment between the halves.
- Wrap tightly in plastic + foil.
- Freeze up to 3 months.
Bake directly from frozen until the bread appears lightly golden at the edges and feels hot throughout. Cooking time may vary depending on oven performance.
Special Tips for Perfect Garlic Bread
- Use fresh garlic — it’s stronger, sweeter, and more aromatic than jarred.
- Choose a sturdy loaf — soft sandwich bread will become soggy.
- Don’t microwave leftovers — they turn rubbery.
- Use room-temperature butter — it spreads evenly without tearing the bread.
Common Mistakes to Avoid
Using soft bread that collapses
Using cold butter that won’t spread
Baking at low heat (prevents crisp edges)
Overbaking until the center dries out
Using pre-minced jarred garlic (bitter taste)
Frequently Asked Questions
Q: What is the best bread to use for homemade garlic bread?
A crusty, sturdy loaf works best—French bread, Italian bread, or a bakery-style baguette. These loaves hold the garlic butter well and stay crisp on the outside while remaining soft inside. Avoid soft sandwich bread since it becomes soggy and doesn’t develop a golden crust.
Q: Can I use salted butter instead of unsalted butter?
Yes, salted butter works fine. If you choose salted butter, reduce or skip the added salt in the recipe so the garlic bread doesn’t become overly salty. The flavor will still be delicious.
Q: Can I replace fresh garlic with garlic powder?
Fresh garlic always gives the strongest, most aromatic flavor, but garlic powder can be used as a backup. If substituting, use ½ teaspoon of garlic powder per clove. The flavor will be milder, but still tasty.
Q: Can I make garlic bread ahead of time?
Absolutely. Prepare the garlic butter and spread it on the bread, then refrigerate it for 24 hours or freeze it for up to 3 months. Bake straight from the fridge or freezer, adding a few extra minutes.
Q: Why did my garlic bread turn soggy?
Sogginess usually happens when the bread is too soft, the butter melts too slowly, or the oven temperature is too low. Always bake at a high temperature (400°F/204°C) and use a crusty loaf for the best texture.
Q: How do I reheat garlic bread without drying it out?
Reheat in an oven or air fryer until warmed through and the edges feel crisp again. Reheating time may vary depending on portion size and equipment.
Q: Can I add cheese to this recipe?
Definitely! Mozzarella, Parmesan, provolone, or cheddar all melt beautifully. Add cheese in the last few minutes of baking for a bubbly, golden topping.
Conclusion
This homemade garlic bread is everything you want in a warm, cozy side dish — crispy, buttery, garlicky, and unbelievably easy to make. With just a few simple ingredients and less than 20 minutes, you can create a flavorful, restaurant-style bread that beats anything in a box. Make it fresh, freeze it for later, or serve it with your favorite meals… this recipe never disappoints.
Homemade Garlic Bread
Ingredients
Method
- Prepare your cookware as needed. Cooking times and results may vary depending on your equipment and ingredients.
- Preheat the oven to 400°F (204°C) and line a baking sheet if desired.
- Slice the bread lengthwise and place the halves cut-side up on the baking sheet.
- In a bowl, mix softened butter, garlic, parsley, salt, and Parmesan (if using) until evenly combined.
- Spread the garlic butter evenly over the bread, pressing gently so it adheres.
- Bake 16–18 minutes, until the edges are lightly golden and the surface is crisp and the bread feels warm and crisp on the surface. Cooking time may vary by oven and loaf thickness.
- Remove from the oven and let rest briefly before slicing. Serve warm.
Notes
About the Author
Isaac shares easy, family-friendly recipes made with simple ingredients, focusing on clear instructions and reliable results for everyday home cooking.


")
